Cookies Setting
We use cookies to improve your browsing experience, analyze traffic, and personalize content. By using this site, you agree to our use of cookies. For more details, please check our Cookie Policy.
Home News

Top 10 Common PA System Problems and How to fix 2025

Top 10 Common PA System Problems and How to fix 2025
2025-12-26 Author: Michael Page view: 5965
 
A modern PA system is expected to be always ready. In many sites—especially a PA system for school, factories, warehouses, and outdoor PA system zones—people depend on it for daily announcements, operational coordination, and emergency communication. Yet most failures are not caused by a bad speaker or a dead amplifier. They are usually caused by predictable issues: wrong signal flow, incorrect gain structure, cable faults, grounding mistakes, load mismatch, or logic/priority configuration errors.This guide is written as a practical troubleshooting reference. Each problem includes symptoms, likely causes, step-by-step fixes, and prevention tips. You can use the steps below for a simple pa speaker system, a distributed pa loudspeaker system, a pa system with mic, or an automated pa system that includes schedules and triggers.

Table of Contents

No Sound (System appears ON, but speakers are silent)

1.1 Symptoms

Amplifier has power, but no sound in any zone.Source device is playing, yet announcements or music cannot be heard.Meters move on a mixer, but there is no output at speakers.

1.2 Likely causes

Wrong input selected or muted channel in the signal chain.Output routing not assigned (common in matrix-based systems).Amplifier channel muted or protection active.Speaker line open circuit (broken conductor, loose terminal, failed junction).Priority logic blocks normal audio (a higher-priority path is holding the system).

1.3 How to fix (fast isolation method)

1. Confirm the source is real: use a known test signal (test tone or a known-good audio file).2. Check the signal path in order: source output → mixer/preamp output → amplifier input → amplifier output → speaker line.3. Bypass the building wiring: connect one known-good test speaker directly to the amplifier output with a short cable.4. Verify zone routing and zone volume: confirm the correct zone is selected and not muted.5. Check emergency/priority status: confirm emergency override is not latched or constantly active.

1.4 Prevention

Label every input, output, and speaker line clearly.Save a known-good configuration backup after commissioning.Keep a small test speaker and short cable on site for quick fault isolation.

Sound is present but too low (weak volume or poor audibility)

2.1 Symptoms

People can hear only near speakers.Announcements are present but not understandable at distance.Outdoor audio disappears under wind or traffic noise.

2.2 Likely causes

Low source level or incorrect gain staging.Excessive attenuation in DSP or mixer.Incorrect output level settings (distributed systems).Coverage design mismatch: trying to cover too large an area with too few speakers.Ambient noise not accounted for (playground, factory line, open street).

2.3 How to fix

1. Confirm proper gain structure: set a stable source level, then set mixer/preamp gain to nominal.2. Check zone volume limits: confirm the zone is not capped by a maximum volume setting.3. Verify speaker settings: confirm output/tap settings match the intended coverage.4. Solve coverage with distribution, not brute force: add speakers and reduce per-speaker output for better intelligibility.

2.4 Prevention

Measure ambient noise during design and commissioning.Use zoning and proper spacing so each loudspeaker covers a reasonable area.

Distortion, crunchy audio, or clipping at higher volume

3.1 Symptoms

Speech becomes harsh when paging loudly.Music breaks up or sounds torn.Clip indicators flash on the amplifier or mixer.

3.2 Likely causes

Amplifier clipping (most common).Input stage overload (source too hot or preamp gain too high).Compressor/limiter set incorrectly.Load mismatch causing the amplifier to struggle under peaks.

3.3 How to fix

1. Start at the front of the chain: reduce source output slightly and set preamp/mixer gain correctly.2. Watch clip indicators: fix the first stage that clips.3. Set a sensible limiter for paging channels to control sudden peaks.4. Confirm amplifier headroom: if it runs near max continuously, redesign coverage or increase headroom.

3.4 Prevention

Commission with real voice tests, not just music.Keep typical operating level below the point where clip indicators appear.

Loud hum, buzz, or electrical noise in the speakers

4.1 Symptoms

Constant low-frequency hum.Buzz increases when other devices power on (PC, TV, LED drivers, motors).Noise changes when touching connectors or moving cables.

4.2 Likely causes

Ground loop between devices powered from different outlets.Unbalanced signal run over long distance in a noisy environment.Audio and AC power cables routed together.Poor shielding, loose terminations, or oxidized connectors.

4.3 How to fix (reliable approach)

1. Reduce to the simplest system: amplifier + one speaker + one source; add devices back one-by-one.2. Separate signal and power cables; avoid long parallel runs with AC power.3. Use balanced audio connections when possible.4. Check grounding strategy: avoid multiple ground paths and ensure consistent grounding reference.

4.4 Prevention

Plan cable routes early; keep audio away from high-current lines.Use quality connectors and proper strain relief at terminations.

Microphone issues (no audio, very low level, or high noise)

5.1 Symptoms

Paging microphone has no output.Microphone audio is extremely weak.Hiss, crackle, or intermittent sound during speech.Only certain microphones work.

5.2 Likely causes

Wrong input type selected (mic vs line).Incorrect gain settings.Faulty microphone cable (very common).Wireless receiver output level mismatch.Operator technique (mic too far, speaking off-axis).

5.3 How to fix

1. Swap the cable first; it is the quickest and most common fix.2. Check input selection and gain; ensure microphone input is used and properly adjusted.3. Test the microphone on a known-good channel to isolate channel configuration issues.4. For wireless microphone systems: verify battery level, receiver output level, and channel stability.

5.4 Prevention

Standardize microphone types and cable quality on a site.Keep spare mic cables available (low-cost, high-impact).

Feedback (howling/ringing) when using paging microphones

6.1 Symptoms

Howling increases rapidly when the mic is turned up.Ringing at certain frequencies even at moderate volume.

6.2 Likely causes

Microphone too close to loudspeakers.Loudspeaker direction points into the microphone pickup area.Too much gain or overly bright EQ on paging channels.Highly reflective room surfaces increasing acoustic loop energy.

6.3 How to fix

1. Fix placement first: increase distance between microphone and loudspeakers.2. Lower mic gain and apply narrow EQ cuts for ringing frequencies (avoid heavy broad EQ).3. Change speaker aiming to reduce acoustic coupling to the microphone.4. Use zoning: paging should not blast every zone at the same level.

6.4 Prevention

Train users on microphone technique and safe standing positions.Tune paging channels for intelligibility rather than music tone.

Uneven coverage (too loud in one spot, too quiet in another)

7.1 Symptoms

Front area is loud, back area misses words.Certain corners are dead zones.Outdoor perimeter has gaps.

7.2 Likely causes

Spacing and height not designed for the area.Wrong dispersion for the mounting position.One large zone used across acoustically different spaces.Excessive overlap causing intelligibility loss in some areas.

7.3 How to fix

1. Divide zones by function and acoustics (classrooms, corridors, playgrounds, assembly areas).2. Adjust placement and aiming; correct height and direction improves uniformity without higher volume.3. Balance levels per zone instead of relying on one global volume.

7.4 Prevention

Walk-test with real voice announcements and check key listening points.Document zone maps and target audibility expectations by area.

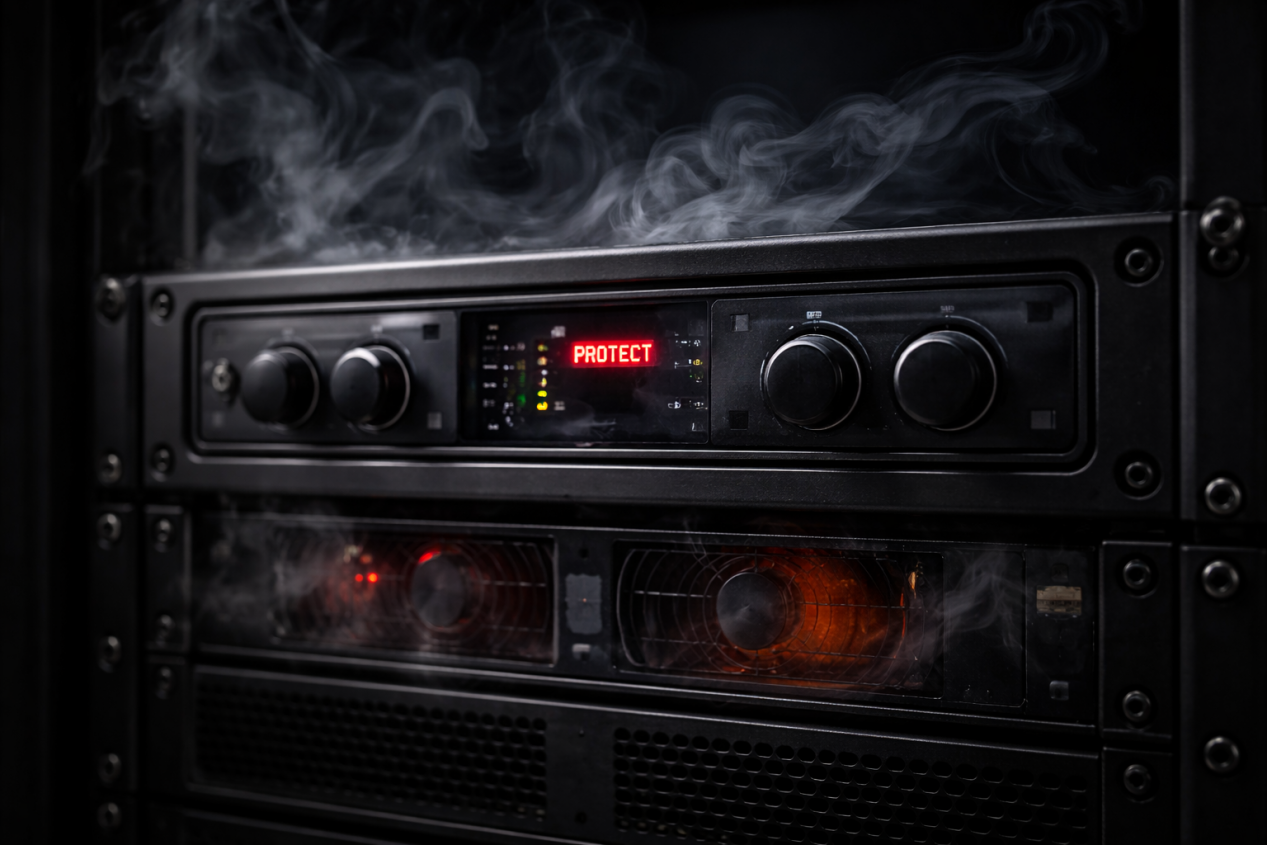
Amplifier overheating, protect mode, or unexpected shutdown

8.1 Symptoms

PA system amplifier stops output after a period of time.Protection indicator turns on.System recovers after cooling down.

8.2 Likely causes

Speaker load too heavy (total impedance too low or total load too high).Poor rack ventilation.Speaker line short or moisture-related leakage.Continuous operation near maximum output.

8.3 How to fix

1. Check load calculations; confirm total speaker load is within amplifier capability.2. Inspect speaker lines; check damaged cable sections and wet junction boxes.3. Improve ventilation; ensure airflow and avoid stacking heat sources tightly.4. Reduce continuous output; redesign coverage or increase headroom if required.

8.4 Prevention

Design with headroom for peaks and long duty cycles.Schedule routine inspection for outdoor junction points.

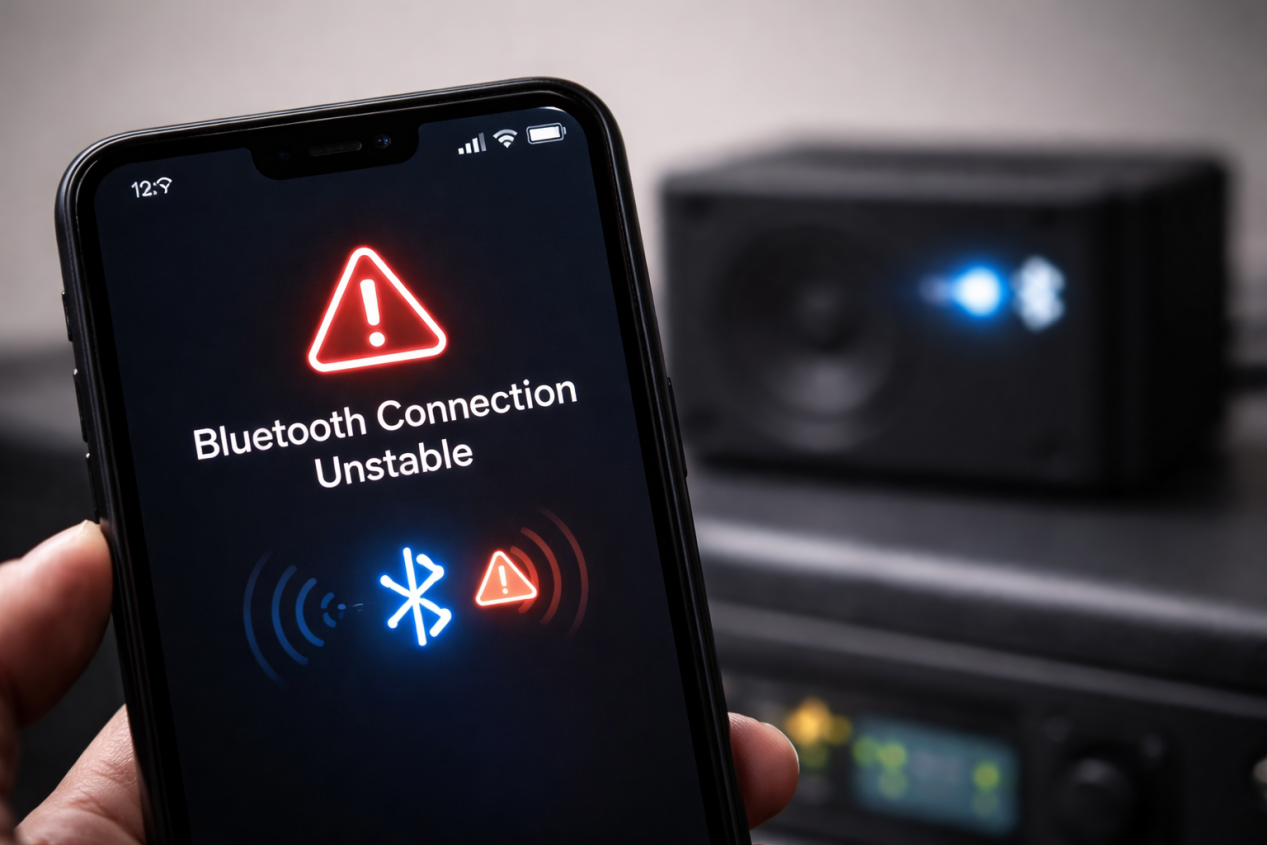
Wireless/Bluetooth audio problems (dropouts, pairing failures, unstable audio)

9.1 Symptoms

Wireless microphone cuts in and out.Bluetooth playback pairing fails or disconnects.Audio is choppy in busy RF environments.

9.2 Likely causes

RF interference (Wi-Fi, other wireless devices, crowded spectrum).Poor antenna placement or blocked line-of-sight.Battery or power instability.Bluetooth already paired to another device.

9.3 How to fix

1. For wireless microphone systems: change channel/frequency plan and improve antenna placement.2. For Bluetooth playback: clear pairing history, reboot both devices, reduce distance.3. Use wired audio for mission-critical paging or emergency paths; keep wireless for convenience audio.

9.4 Prevention

Maintain a frequency plan and keep spares.Treat RF planning as part of commissioning, not an afterthought.

Automated announcements or triggers fail (schedules, overrides, event-based paging)

10.1 Symptoms

Scheduled messages do not play.One zone plays, another does not.Emergency override does not interrupt background audio.Triggered messages work only sometimes.

10.2 Likely causes

Priority hierarchy misconfigured.Incorrect trigger mapping (wrong zone, wrong audio file, wrong rule).Time settings not synchronized (schedule drift).Permissions/roles prevent execution.Audio file format or storage path issues.

10.3 How to fix

1. Verify priority order; confirm the system follows the intended hierarchy.2. Test triggers with logs; confirm the trigger arrives and is mapped to the correct action and zone.3. Check time configuration; keep consistent time settings to avoid schedule errors.4. Standardize audio assets; use tested formats and consistent file naming.

10.4 Prevention

Add a monthly test routine (schedule test + emergency override test).Keep a change log for rule updates and configuration edits.

Basic PA System Setup Diagram

Below is a basic PA system setup diagram. It also helps identify where an audio issue occurs.

11.1 Basic setup (analog signal path)

Microphone / Audio Source → Mixer or Preamp → PA system amp / PA system amplifier → Speakers (pa loudspeaker system / pa speaker system).

11.2 Common signal routing checkpoints

If the source meter moves but amplifier input meter does not: routing or cable issue.If amplifier meter moves but speakers are silent: speaker line, zone, or protection issue.If speakers work but audio is poor: gain structure, EQ, placement, or coverage issue.

11.3 Quick onsite test kit (recommended)

Short speaker cable + small test speaker.Test tone audio file.Spare mic cable.Basic multimeter.

Conclusion

A dependable PA sound system is built on fundamentals: correct signal flow, proper gain staging, solid wiring, sensible zoning, and validated priority logic. When an audio issue appears, the fastest path to resolution is isolation—confirm the source, confirm the path stage-by-stage, and test with known-good components. In 2025, as more sites adopt automation and wireless playback, disciplined commissioning and repeatable test routines become even more important.
FAQS
Q1: Why does my PA system have no sound even though it is powered on?
Most often it is incorrect input selection, muted routing, a priority override holding the system, or a speaker line open circuit. Use a test speaker to bypass field wiring and isolate the stage where audio disappears.
Q2: What causes distortion in a PA system amplifier?
Clipping is the most common cause. It can come from the amplifier itself or from earlier stages (source or preamp). Fix the first clipping point you see in the chain.
Q3: How can I stop microphone feedback quickly?
Increase mic-to-speaker distance, lower mic gain, adjust speaker aiming, and apply narrow EQ cuts for ringing frequencies. Placement fixes are usually faster than heavy EQ changes.
Q4: Are wireless PA systems reliable for schools?
They can be reliable for convenience audio, but mission-critical paging and emergency paths should have robust design and testing. RF planning and battery management are essential.
Q5: What is the most common mistake in PA system setup?
Trying to solve coverage problems with volume instead of zoning and distribution. Better placement and correct zone design usually outperform turning it up.
Q6: How long do PA systems last?
A PA system can typically last 8–15 years in normal fixed-install environments, and 5–10 years in harsher outdoor or industrial conditions. The actual lifespan depends more on installation quality, operating hours, ventilation, and maintenance than on age alone. Amplifiers / power supplies often fail first due to heat, dust, and continuous high output. Speakers can last a long time, but outdoor units may age faster because of UV exposure, moisture, and corrosion. Cables, connectors, and terminations are common weak points, especially in outdoor junction boxes. With proper ventilation, correct load matching, and routine inspections, many installations remain stable well beyond a decade.
Q7: How to troubleshoot a PA system?
The fastest way to troubleshoot a PA system is to follow a stage-by-stage isolation method and confirm where the signal disappears or degrades.
A practical troubleshooting flow:
1.Confirm the source (use a known-good test tone or audio file). 2.Check signal routing (mixer/matrix input selection, zone assignment, mute status). 3.Verify amplifier status (protect/clip indicators, channel mute, thermal condition). 4.Bypass field wiring (connect a known-good test speaker directly to the amplifier output). 5.Test zone by zone (identify whether the issue is system-wide or localized). Inspect wiring and terminations (loose screws, corrosion, damaged cables, moisture in outdoor boxes).
This method avoids guessing and quickly separates equipment issues from wiring/configuration issues.
Q8: What are the problems with amplifiers?
The most common amplifier problems in PA systems are related to overload, heat, wiring faults, and incorrect configuration.
Typical amplifier issues include:
Protection mode / shutdown due to low impedance load, short circuits, or overheating
Clipping distortion when the system is driven beyond its headroom
Overheating caused by poor ventilation, dust buildup, or continuous high output operation
No output on one channel due to internal protection, faulty connections, or damaged output stage
Noise or hum from grounding problems or poor input cabling
Intermittent performance from loose terminals, aging components, or unstable power supply
To prevent amplifier failures, ensure correct load matching, keep airflow clear, avoid constant maximum output, and periodically inspect wiring and outdoor junction points.