CPU: Intel I3 series processor or above
Memory: 4G or above Hard Disk: 500G or above
Network Card: 100M/1000M self-adaption
Sound Card: must be with stereo mixing function
Operating System: Windows 7 or above
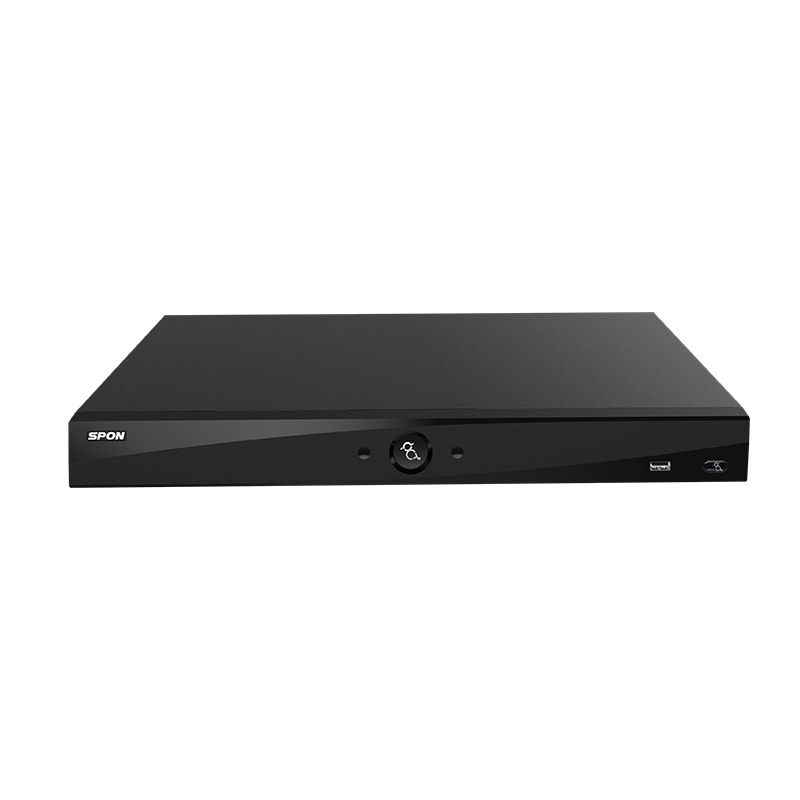
Please check if the communication protocol of other SPON® IP audio devices has been set to NAS protocol, since the built-in web server can only identify other devices via NAS protocol.
We accept one-time payment for the USB dongle, it’s the perpetual license for SPON® audio management software, you don’t need to pay any monthly or quarterly license fee for our software service.
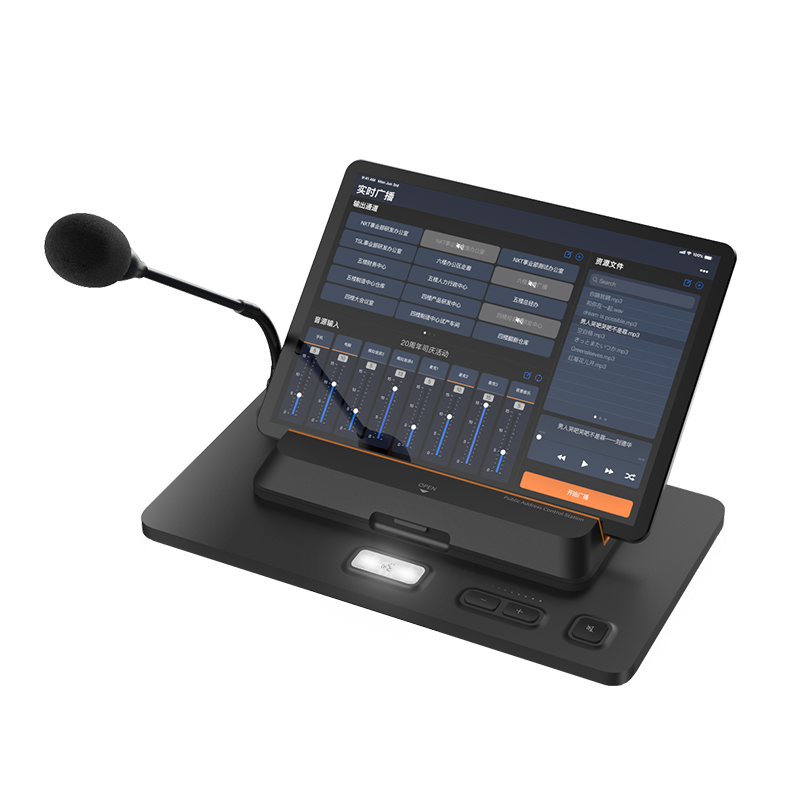
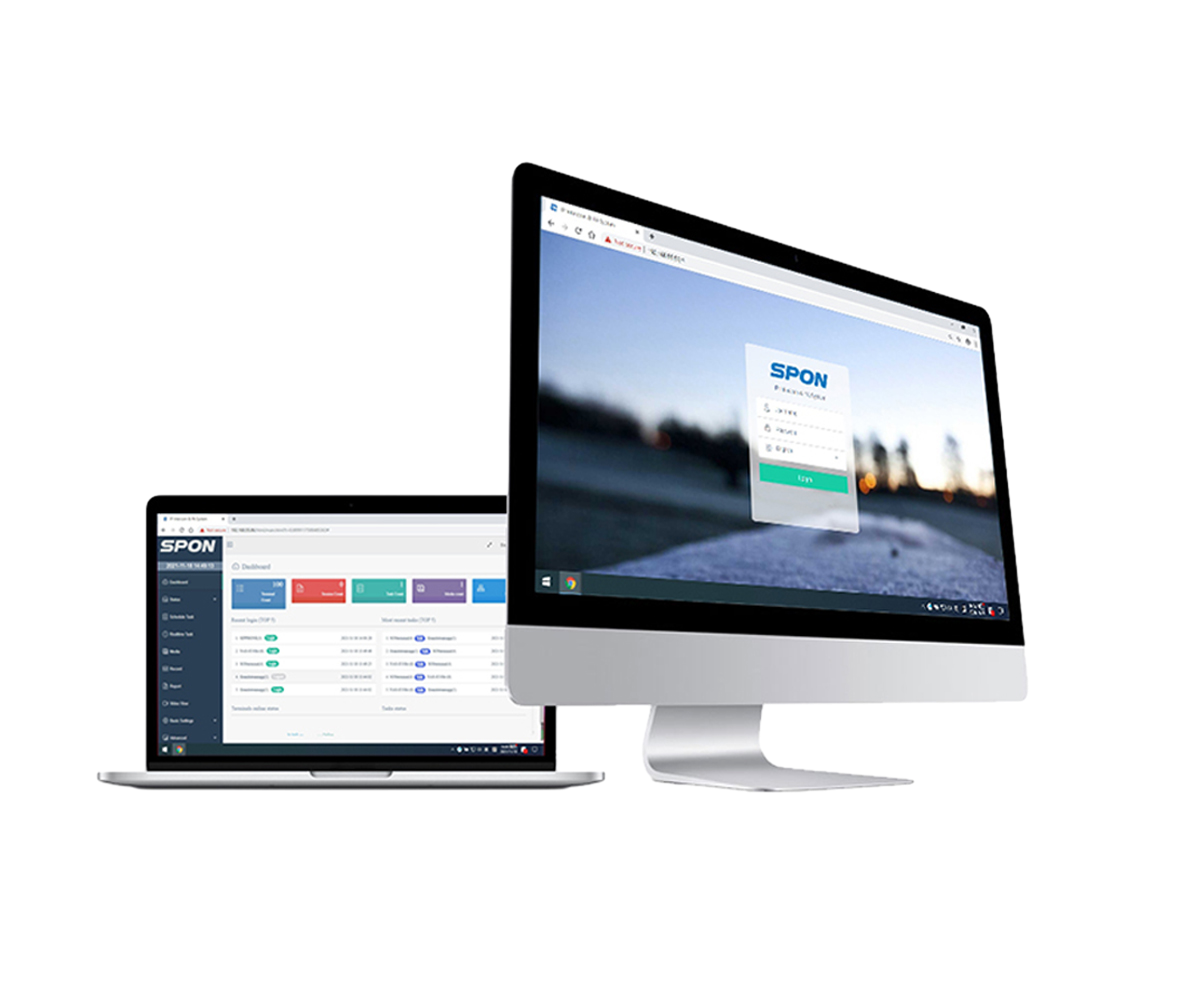
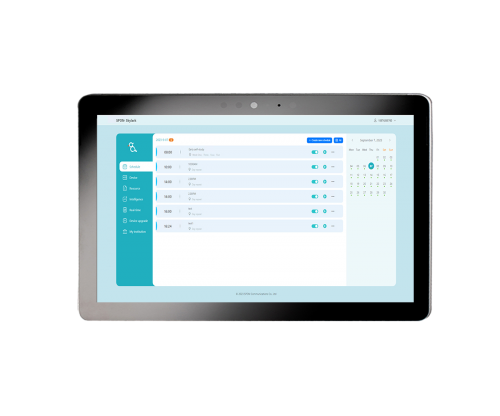
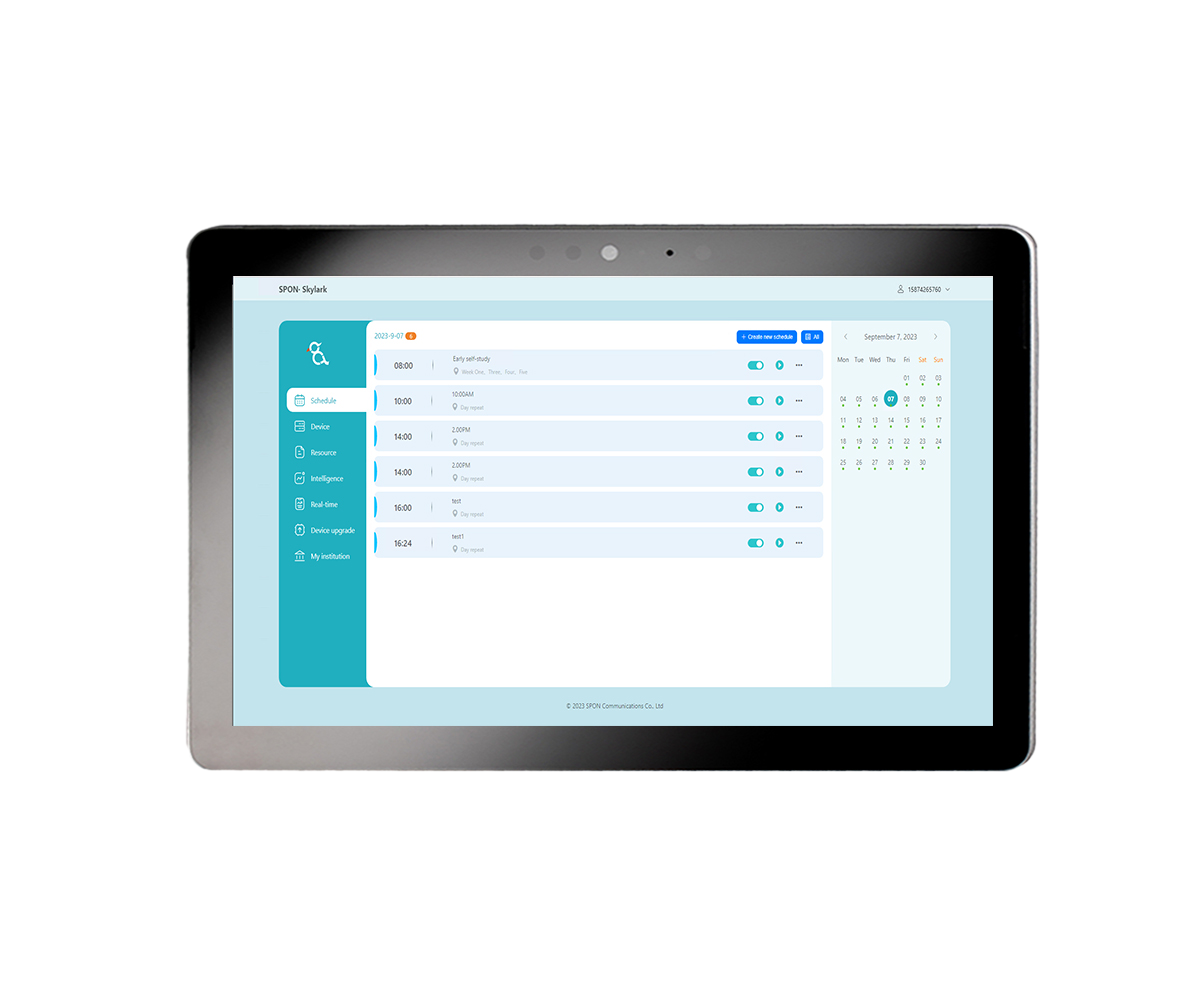
User authorization assignment, centralized device management, media content management, zone management, bell scheduling, remote volume adjustment, system health monitoring and event logging.
The audio formats of IP Public Address are: MP2, MP3, AAC, etc. (MP2 and AAC are the standard designated audio formats of national DAB )
Compare of used Bandwidth: MP2: 256K-512K MP3: 64K-128K
Background Music and Announcements: The system can play music, Emergency Broadcasting.
Situation Reports: It can announce daily activity schedules, provide key points about significant events, and give updates about essential convoys passing through.
Emergency Interjections: The system can be used to urgently intercept vehicles violating rules, grant access to special vehicles, and command on-site order during chaotic situations.
Emergency Paging: If a toll booth encounters an unexpected situation, operators can use a one-touch emergency call to the control center or neighboring toll stations for immediate assistance.
Schools, especially those equipped with campus networks.
Highway Toll Stations
Chain Supermarkets
Large Enterprise.
Office Buildings and Skyscrapers.
Rural Connectivity Projects.
Any location with network connectivity can benefit from the IP public address system.
High Audio Quality: The system offers pristine fidelity through its full digitalization, utilizing CD-like quality data file formats, which are perfectly consistent with computer output.
Personalization: Built on an Internet protocol, each audio endpoint can freely choose any channel for playback, with adjustable progress, allowing for point-to-point personalized programming.
Network Integration: From teachers' courseware production and arrangement to speeches and scheduled program broadcasts, everything can be operated remotely over the network.
Remote Functionality: The system supports remote broadcasting across different cities and even countries. As long as there's an internet connection, broadcasting can be initiated.