Cookies Setting
We use cookies to improve your browsing experience, analyze traffic, and personalize content. By using this site, you agree to our use of cookies. For more details, please check our Cookie Policy.
Home News

School Bell System: How to Design with IP PA System

School Bell System: How to Design with IP PA System
2026-03-27 Author: cora Page view: 1786

Table of Contents

What Is a School Bell System?

A school bell system controls class-start and class-end signals across an entire campus. It tells students and teachers when to start, pause, and finish classes. In modern schools, this is no longer only a buzzer on the wall. It is a fully integrated PA system that handles bells, announcements, background music, and urgent announcements — all from one platform.The design of the school bell system directly affects daily operations. A poorly designed system creates noise complaints, missed signals, and maintenance headaches. A well-designed IP PA system reduces time and lowers ongoing costs.

Traditional School Bells vs. IP PA System

Most schools start with a simple bell timer. As campuses grow, that simple system cannot scale. Here is a direct comparison:
Feature Traditional Bell System IP PA System
Signal Type Relay / analog buzzer Digital audio over IP network
Audio Quality Low — mono buzzer High — full audio file playback
Scheduling Fixed timer, limited slots Software-based, unlimited schedules
Remote Control Not possible Web browser / app
Zone Control All zones ring together Zone-by-zone independent control
Emergency Broadcast Not supported Priority override
Cabling Dedicated 2-core cable per speaker CAT5/CAT6 Ethernet — shared with IT
Wiring Cost High (100V line) Low (PoE network)
Integration Standalone only Integrates with ERP, scheduling software, fire alarm
Scalability Requires hardware rewire Add IP endpoint via software
Maintenance On-site only Remote diagnosis and update
Typical Project Cost Low upfront, high long-term Moderate upfront, low long-term
Tips: For projects with 20+ zones or multi-building campuses, a traditional bell system is not recommended. The wiring cost and lack of flexibility make it unfeasible at scale.

Core Components of an IP PA System for Schools

Comprehending each component helps you specify the right equipment and avoid over-engineering or under-specifying the system.
Component Function Key Spec to Check Typical Location
IP PA Server / Controller Central management, schedule management, content library Max zones, concurrent streams, API support Server room / IT rack
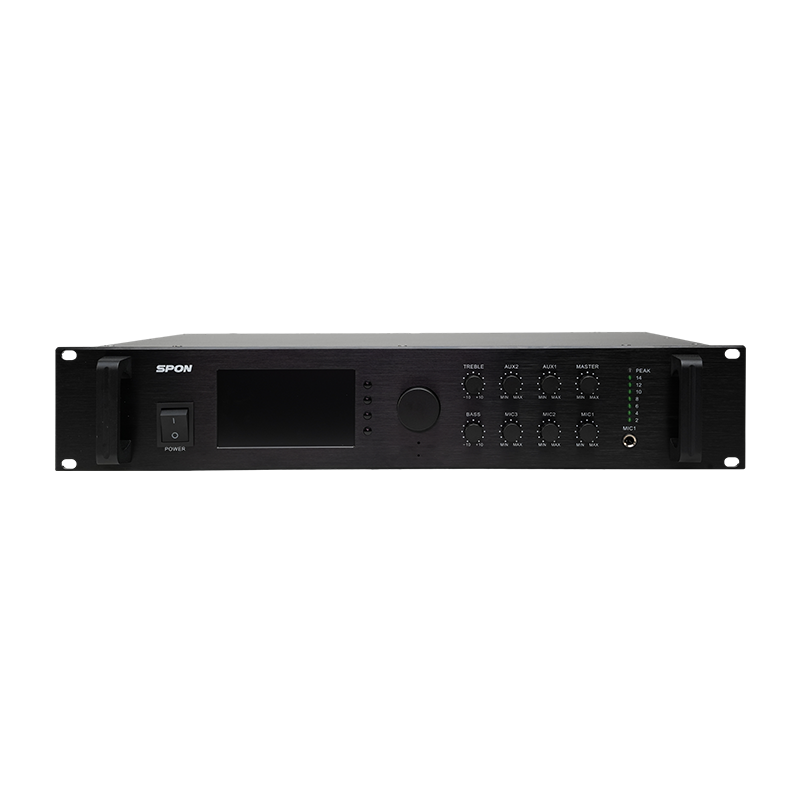
IP Network Amplifier Decodes IP audio stream, amplifies to speakers Output power (W), PoE input, impedance Each building / floor
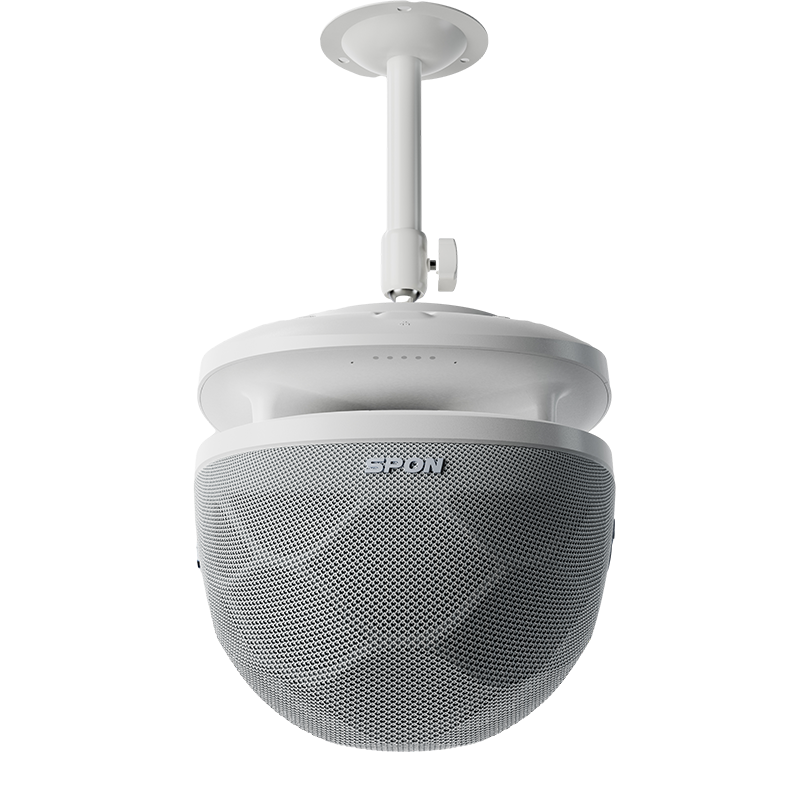
IP Ceiling Speaker Receives IP audio directly, no amplifier needed SPL (dB), frequency range, PoE class Classrooms, corridors
IP Paging Microphone Live announcement input Priority level, SIP support, zone select Admin office, security desk
Network Switch (PoE) Powers and connects all IP endpoints PoE budget (W), VLAN support IT closet / MDF/IDF
Scheduling Software Automates bell schedules, holiday calendars Web UI, API, number of schedules Server (web-based)

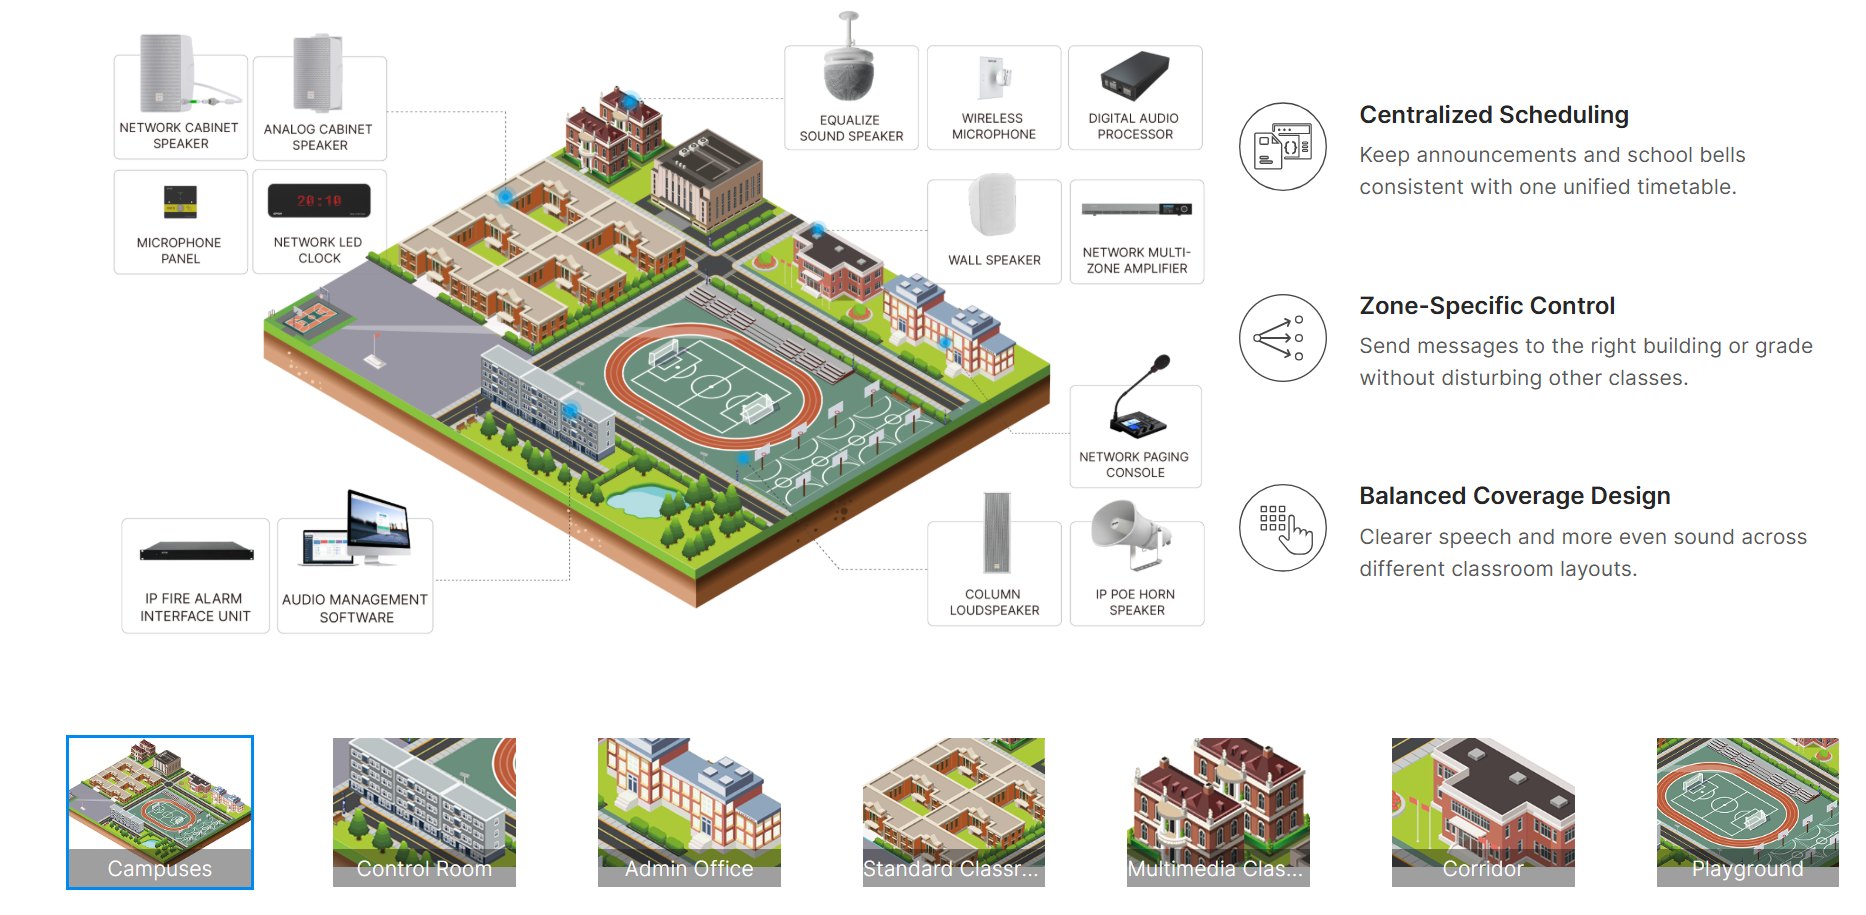
IP PA System for School

The topology below shows a typical multi-building school deployment. Each building connects to the central switch via fiber or CAT6. IP speakers and amplifiers receive both power (PoE) and audio over the same cable.

School Bell System Design Process: Step-by-Step

Step 1: Understand the School’s Requirements

The first step in designing a school bell system is to understand the school’s needs clearly. Every campus is different. The number of buildings, classrooms, and outdoor areas will affect the system design.Engineers should collect basic information, such as the campus size, the number of classrooms, the number of floors in each building, and the locations that require audio coverage. These areas usually include classrooms, corridors, playgrounds, cafeterias, and office areas.It is also important to understand how the school plans to use the system. Some schools only need automatic class bells. Others may also require voice announcements, urgent broadcasts, or background music during breaks.If the project is a new campus, engineers should coordinate with the building designer and the IT team. This helps ensure that cable routes, network rooms, and equipment spaces are reserved in advance.A clear requirement analysis will make the following design steps much easier.

Step 2: Choose System Type

Schools can use either a traditional analog PA system or a modern IP PA system.Traditional systems are simple but offer limited functions. Most modern campuses choose IP PA systems because they support versatile scheduling, zone control, and remote management.An IP-based system also makes future expansion much easier.

Step 3: Plan the Broadcast Zones

After choosing the system type, engineers should plan the broadcast zones.A school campus usually includes different functional areas. Each area may require different audio control. For example, classrooms may follow the regular class bell schedule, while dormitories may use a different schedule.Typical broadcast zones include teaching buildings, corridors, outdoor playgrounds, office areas, and dormitory buildings.Dividing the campus into zones makes the system more flexible. Administrators can broadcast announcements to a single building or to the entire campus. They can also adjust the volume level independently for each zone.Good zoning design helps improve sound quality and avoids unnecessary noise in quiet areas such as libraries.

Step 4: Select Speakers and Plan Installation

Different areas require different speaker types.Classrooms usually use ceiling speakers because they provide even sound coverage. Corridors often use wall-mounted speakers, while outdoor areas such as playgrounds typically use horn speakers.Proper speaker placement ensures the bell sound is clear and evenly distributed across the campus.

Step 5: Design Network and Wiring

Modern IP PA systems transmit audio through the campus network.The system normally includes a PA server, network switches, and IP speakers connected by Ethernet cables. A stable network guarantees that audio signals reach all speakers without delay.Using reliable switches and high-quality network cables improves system stability.

Step 6: Set the Bell Schedule

The bell schedule is configured in the PA system software.Administrators can define different ringing times for class start, breaks, lunch, and the end of the school day.Different bell tones can also be used so students easily recognize each event.

Step 7: Install Control Equipment

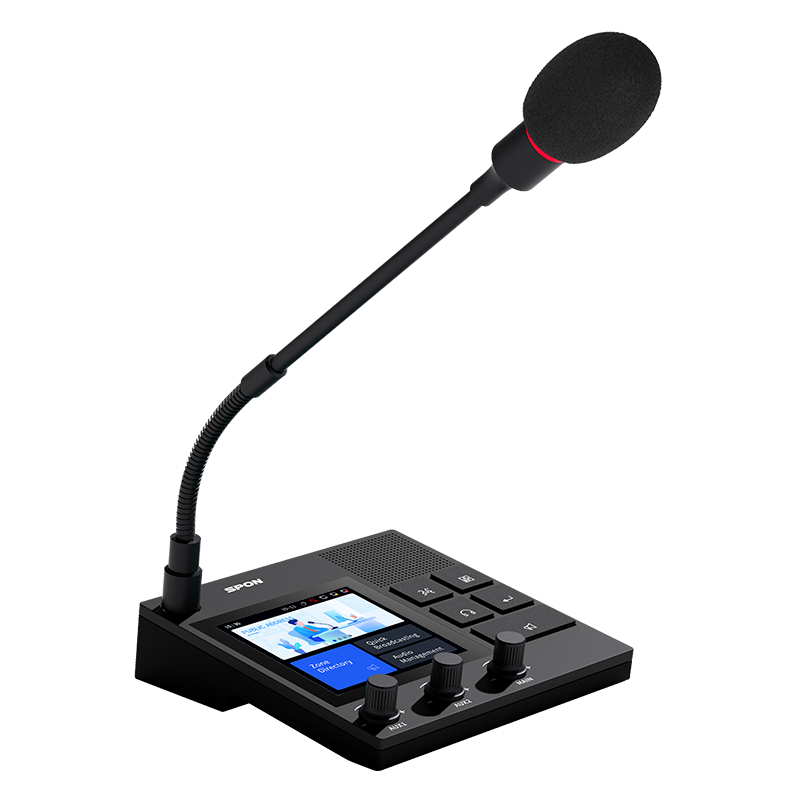
The system usually includes a central PA server, a paging microphone, and management software.The server controls the entire system, while the paging microphone allows staff to make live announcements. All operations can be managed through the software interface.

Step 8: Test and Maintain the System

Before the system is put into use, engineers must test all speakers, schedules, and network connections.Routine upkeep is also important. Periodic checks help ensure the system continues to operate reliably.

Speaker Coverage Calculator

Use this reference table to select the right speaker power for each space:
Room Type Typical Size (m²) Background Noise Level Recommended Speaker Recommended SPL Notes
Standard Classroom 50–70 m² Low (40–50 dB) 1× 6W ceiling speaker 75–80 dB Mount at center of ceiling
Large Lecture Hall 150–300 m² Medium (50–60 dB) 2–4× 10W ceiling speakers 80–85 dB Evenly distributed array
Corridor / Hallway Linear, 3–5m wide Medium (50–60 dB) 1× speaker per 8–10m 78–82 dB Avoid dead spots
Outdoor Playground 1000+ m² High (60–75 dB) 2–4× 30W horn speakers 90–100 dB IP65, aim downward 15°
School Cafeteria 200–500 m² High (65–75 dB) 4–8× 10W ceiling speakers 85–90 dB Short reverberation time
Gymnasium 500–1500 m² High (65–80 dB) Column or line array speakers 90–95 dB Focus on intelligibility

Application

  • Automated Bell Scheduling
The system plays different bell tones for class start, class end, and break time. Schedules change automatically on exam days or holidays — no manual action needed.
  • Announcements
The principal broadcasts to all classrooms at once. Staff can select specific zones — only send to Building A, for example — without disturbing other areas.
  • Emergency Evacuation Alert
One button triggers a system-wide alert with a pre-recorded or live message. This overrides all scheduled content and reaches every speaker instantly.
  • Background Music for Campus
Play soft background music in corridors and the cafeteria during lunch break. Different audio content can run in different zones simultaneously.
  • Sports Day / Events
The outdoor PA system covers the playground and sports field with clear, high-SPL audio. Staff can control volume and content from a tablet or laptop.
  • Integration with School ERP
The bell system connects to the school's scheduling software. When the timetable changes, the bell schedule updates automatically — no manual reprogramming.
 

IP PA System vs. 100V Line PA System for Schools

Criteria 100V Line PA System IP PA System
Initial Cost Lower Higher
Long-distance Cabling Excellent (100V tolerates long runs) Requires fiber for >100m
Zone Flexibility Limited (hardware matrix) Unlimited (software-defined)
Audio Latency <5ms 5–50ms (LAN)
Scalability Requires new amplifier Add IP endpoint only
Remote Management None Full web-based control
Integration Capability Very limited API, SIP, TCP/IP
Best For Small schools, budget projects Medium–large campuses

Common Mistakes in School Bell System Design

Under-specifying PoE switches: Always calculate the total PoE load before purchasing. Running out of PoE budget means adding external power supplies — an avoidable cost.Ignoring network latency: On large IP networks, audio packets can be delayed. Use quality of service to give priority to PA traffic. Test harmonization across all zones before handover.No backup path for emergency audio: If the server fails, emergency transmissions must still work. Use a standalone paging station with a direct amplifier connection as a backup.Wrong speaker for the environment: Using indoor ceiling speakers in covered outdoor areas leads to early failure. Always check the IP rating and humidity tolerance.Missing holiday and exam schedules: A school bell system must handle multiple calendar exceptions. Configure these before handover, not after.No staff training: The best system fails if no one knows how to use it. Schedule a 1-hour training session with the admin staff as part of the project handover.

Summary

A well-designed school bell system is more than a timer. It is the backbone of campus communication. An IP PA system gives you zone control, remote management, emergency broadcast capability, and integration with school software — all over existing network infrastructure.The design of the school bell system should start with a site survey, move to zone planning, and finish with thorough testing and staff training. For medium to large campuses, an IP PA system is the right long-term investment.If you are a system integrator or consultant working on a school project, choose an IP PA platform that supports open APIs, standard SIP, and web-based management. This makes future upgrades and integrations much easier.