


 2025-09-26
 Author: cora
 Page view: 3298
A good conference system ensures clear communication, efficient collaboration and a more professional meeting experience. It not only ensures all participants can be heard and seen, but also significantly reduces technical issues and communication barriers, especially in remote meetings using platforms like Zoom. In this blog, we'll provide a simple yet comprehensive step-by-step guide to setting up a conferencing system, from planning and selecting the right equipment to installation and testing. Whether you need an audio conferencing system, video conferencing system, or AV system, you'll find useful information.
1. Understanding Your Conference Needs
• Know why you need a conference system and what it should do.
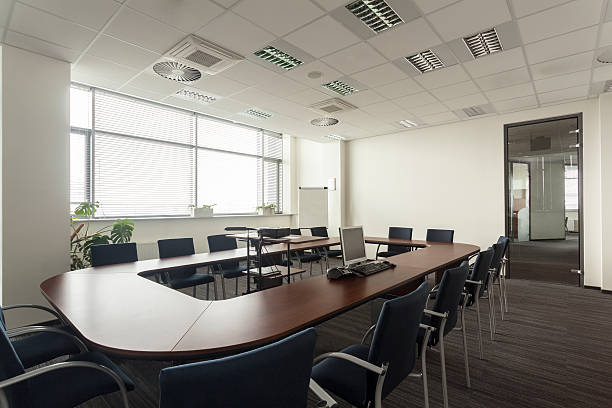
Before setting up a conferencing system, you need to understand your needs. How many people will be attending the meeting? Will you be using audio only or include video? Do you need remote participants to connect from different locations? Understanding these needs will help you choose the right audio conferencing system and video conferencing tools. It will also help you plan the room layout, cabling, and equipment placement to ensure everyone can communicate clearly.
2. Choosing Between Audio and Video Conference Systems
• Decide whether your meetings need just sound or also video.
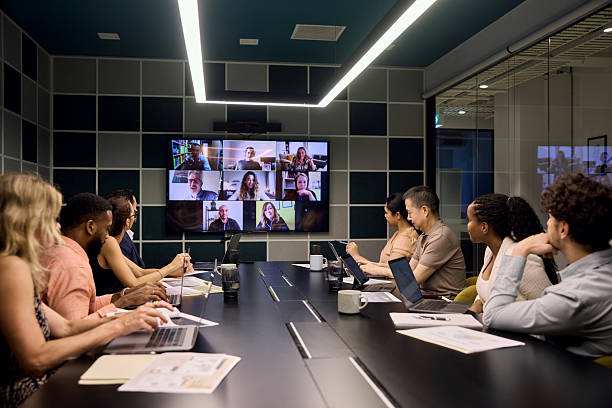
If you only need clear sound meet, an audio conference system will be enough. It usually includes microphones, speakers, sometimes need a central control unit(conference host). A video conference system goes further by adding cameras, displays, and often a video conferencing solution—such as Zoom or other meeting software developed by conferencing system providers—to connect remote participants. Many modern conference systems combine both audio and video, creating a better meeting experience. This way, even your smile can be delivered to clients or partners on the other side.
3. Planning the Conference Room Layout
• Arrange your meeting room for the best sound and video experience.
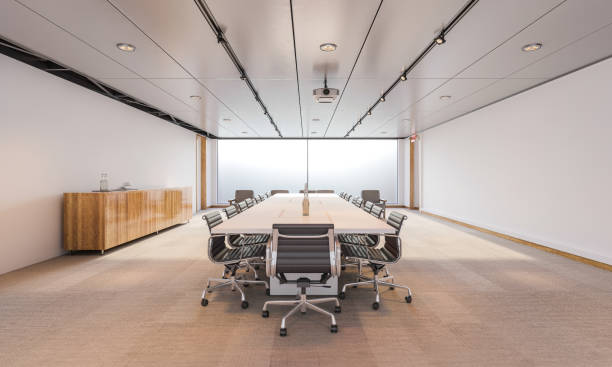
Room layout is critical for an effective AV system. Take the placement of speakers as an example—imagine holding a meeting in a large lecture hall where people sitting in the corners or back rows can’t hear the sound. That would be a terrible experience. Participants should be seated in positions where their voices can be captured clearly. In a video conference system, cameras should cover all attendees without any obstruction. This means you need to consider the size of the room and the number of participants. You should also think about the table shape, seating arrangement, and screen placement. For larger rooms, ceiling speakers or wall-mounted microphones are often more practical. A well-planned layout ensures your modern conference system delivers clear audio and video for every participant. For detailed guidance on how to calculate the number of wall-mounted speakers, check out Aaron’s blog on wall-mounted speaker calculation, written by a SPON engineer with 15 years of experience in the audio industry.

4. Selecting the Right Equipment
• Choose devices that match your conference requirements.
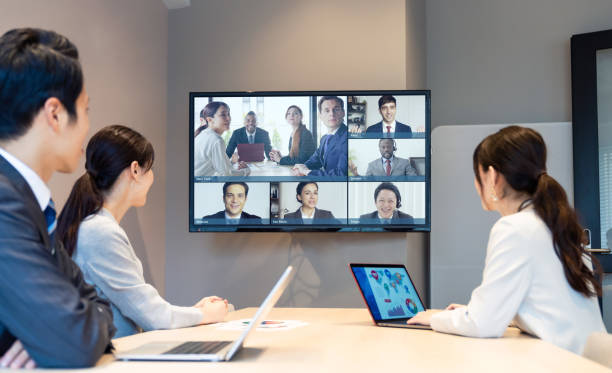
Your equipment choice determines the quality of your conferencing system. For audio, consider a microphone with a built-in speaker and user interface. This ensures clear audio even in small meeting rooms without an additional speaker. For video, choose a camera with adjustable angles, wide coverage, and high resolution. It should also support multiple protocols and include video tracking, such as the SPON HD Conference Camera. An audio and video system may also include control devices such as a mixer, amplifier, and touchscreen. Ensure your equipment supports your favorite video conferencing tools and can easily connect to your network. A carefully selected system ensures a smooth meeting.
5. Setting Up Audio Components
• Install and connect microphones, speakers, and mixers.
First, place the microphones close to the participants and connect them to the mixer or central control unit. Make sure the mic capture voices clearly without causing feedback. Connect the speakers around the room to keep the sound evenly distributed. Keep all cables neat and away from walkways. Before integrating the microphones and speakers into the conference system, test each device. A proper audio setup ensures that everyone can hear each other clearly.

6. Installing Video Cameras
• Mount cameras and displays for clear video communication.
In video conferencing systems, cameras are typically mounted high to ensure coverage of all participants. Small conference rooms typically install one camera at the front of the room, while larger conferences can use cameras at the front, back, or sides. Displays or monitors should be positioned so everyone can see remote participants. When using multiple cameras, consider switching software or hardware to focus on the active speaker. After configuration and installation, test the camera's video tracking function by speaking through multiple microphones to ensure smooth video streaming during the meeting.

7. Connecting Your Conference System to the Network
• Make sure your system works with your internet and internal network.
Most modern conference systems rely on network. You need to make sure the bandwidth is big to keep video conferences running smoothly, especially when many participants are joining remotely. Whenever possible, use wired microphone to reduce interference. Proper network setup is critical for seamless meetings and the effective use of video conferencing tools.
In addition, wireless microphones offer more flexibility and make the meeting room setup look cleaner and more professional. However, always check your microphone battery has enough power to last through the meeting. Keep in mind that standby time and active usage time consume battery power differently.

8. Integrating Video Conferencing Tools
• Link your system with popular online platforms.
Zoom and Microsoft Teams are popular video conferencing software worldwide, allowing remote participants to easily join. Most conferencing systems support integration with these third-party software to achieve full functionality. You should check whether your conferencing system is compatible with third-party video software. Integration ensures that your conferencing system can smoothly handle both in-person and remote meetings.

9. Testing and Calibrating the System
• Make adjustments to ensure optimal performance.
After installation, thoroughly test your AV system. Check microphone volume, speaker clarity, camera angles, and display visibility. Conduct a test session with colleagues to identify any issues. Calibrate audio volume to avoid echo, feedback, or uneven sound. Adjust camera position and lighting as needed. Proper testing ensures your modern conferencing system delivers high-quality audio and video for every meeting.
10. Maintaining Your Conference System
• Keep your system in good condition for long-term use.
Regular test and maintenance ensures reliable operation of your AV systems. Clean your microphone, camera, and monitor regularly. Check cables and network connections for wear and damage. Update the software and firmware to avoid compatibility issues. Regular maintenance prevents downtime and extends the life of your AV systems.
Even a well-setup system can experience issues such as no sound, blurry video, or connection problems. Consider potential issues with the cabling, network, or power supply. Restart the equipment if necessary. For video conferencing software, ensure you have the latest version installed and test your network speed. Understanding basic troubleshooting steps will ensure your meetings run smoothly.

Conclusion
A good conference system makes communication easier. It also improves efficiency and teamwork. Clear audio means everyone can be heard. High-quality video helps people stay engaged.For example, in a product presentation, remote partners can see the speaker’s face and the slides at the same time. This makes the meeting more interactive and effective.With built-in video conferencing tools like Zoom or Microsoft Teams, remote collaboration becomes simple. A modern conference system also saves time, reduces travel costs, and makes meetings look more professional.
If you are not familiar with installation or configuration, professional providers or installers can help. They make sure the system is placed correctly, integrated with your network, and optimized for both audio and video. Many suppliers also offer ongoing after-sales support. For instance, SPON, a Chinese audio and video solution provider with over 20 years of industry experience, offers 2 years of professional technical support. A professional setup ensures that your conference system work perfectly from first day.
Setting up a conference system is not just about connecting microphones and cameras. Careful planning, the right equipment, proper installation, and thorough testing are all essential for successful meetings.
FAQ
1. What are some conference system suppliers in China?
Well-known suppliers include Taiden, Cisco, Yealink, SPON, and DSPPA. You can choose the most suitable one based on your project needs.
2. What is an audio conference system?
An audio conference system is a professional setup designed to allow multiple participants to communicate clearly during meetings. It usually includes microphones, speakers, and a control unit to ensure that every voice is heard without background noise or interference.
3. How much does a conference system cost?
The cost depends on the product list and system configuration. A basic setup with a central control unit, one chairman microphone, and several delegate microphones usually starts around USD 1,500.


 AR
AR
 EN
EN


